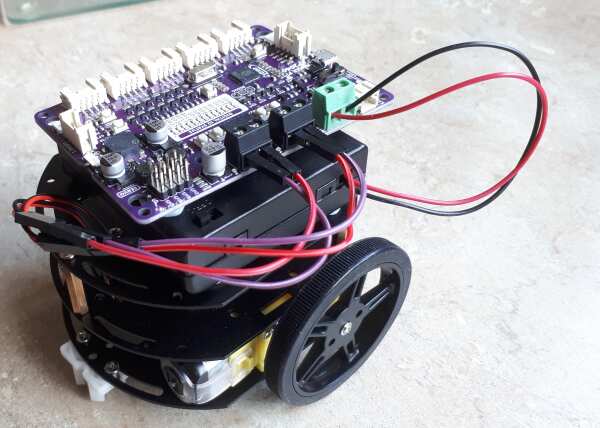
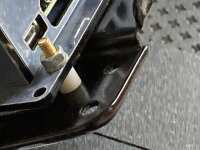
There are no instructions with the neatly packaged chassis but it is easy to assemble if you lay out all the parts in a logical manner before you start. I had to gently file a couple of the tongues to get them to fit neatly into their slots.
There are plenty of holes to fit extra components but I’ve found that they seldom fit the holes in the bigger boards you try to attach. I used Blu Tack to fit the battery box (4xAA) to the top layer and then the microcontroller board on the top. It worked well, enough grip and very easy to adjust/remove as you modify your design and add more components.
I suggest you make a small cardboard ‘lift’ to hold the wheels off the table top while you program and test your setup.
I paired this robot chassis with a Cytron Maker RP 2040. (Remarkable value at £9 and includes the Pi Pico microcontroller, reset button, user buttons, LEDs, buzzer (with silence switch), 2 Neopixels, motor drivers for both 2 DC motors, with test buttons, and 4 servos plus 7 Grove connectors with 4 Grove cables!)
A video and my initial test code in CircuitPython are available here:
https://youtu.be/1SctuA2T11E
The assembly ran very well – pretty fast even at half speed. The wheels gripped well and it coped with the gaps between my kitchen ceramic floor tiles very well.
I’m going to add Infra-Red control via a mini TV zapper next.